Location Settings
Setting Up and Managing Locations
Overview
The Locations page (Settings → General → Locations) is where you configure everything about how a shop location operates in ServiceProfessional: its address and contact details, how it's taxed, how it numbers tickets, its hours and holidays, how it accepts payment, how it prices parts, and which shop fees and environmental fees it charges. If your business has more than one location, each one is configured independently here.
This article walks through every section of the Edit Location screen, in the order they appear on the page.
Getting to Locations
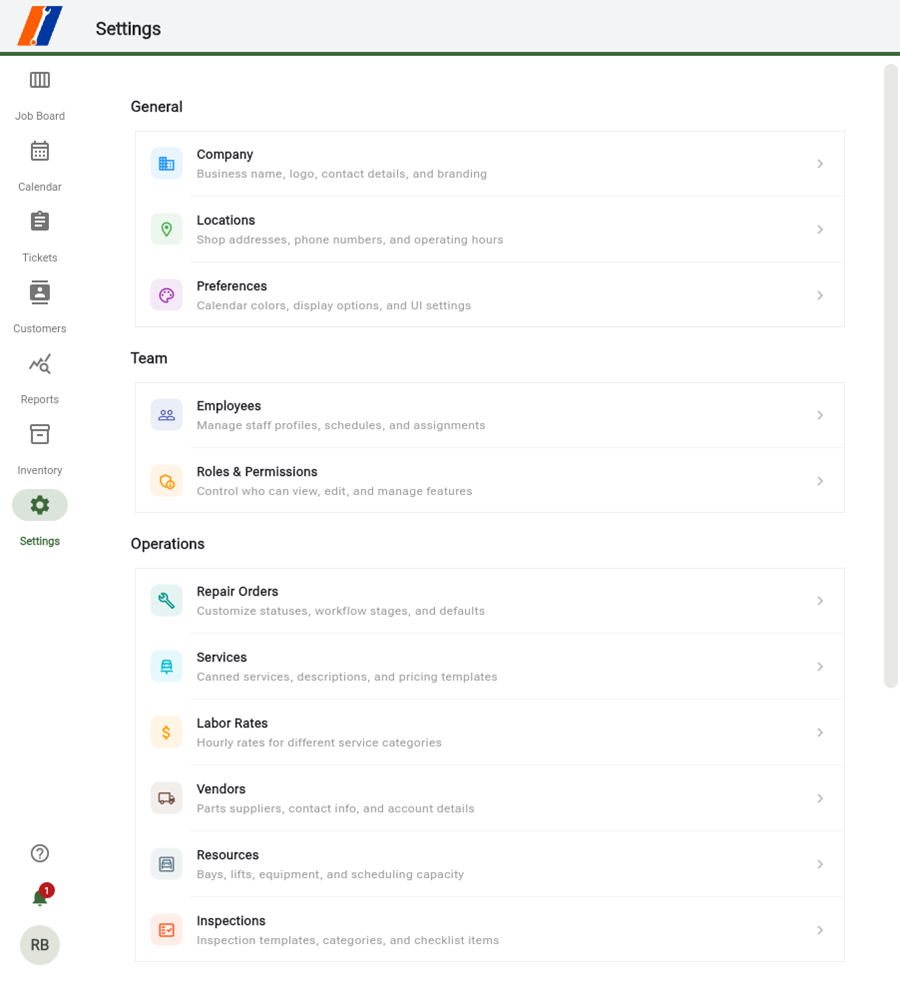
1. Click Settings in the left navigation.
2. Under General, click Locations.
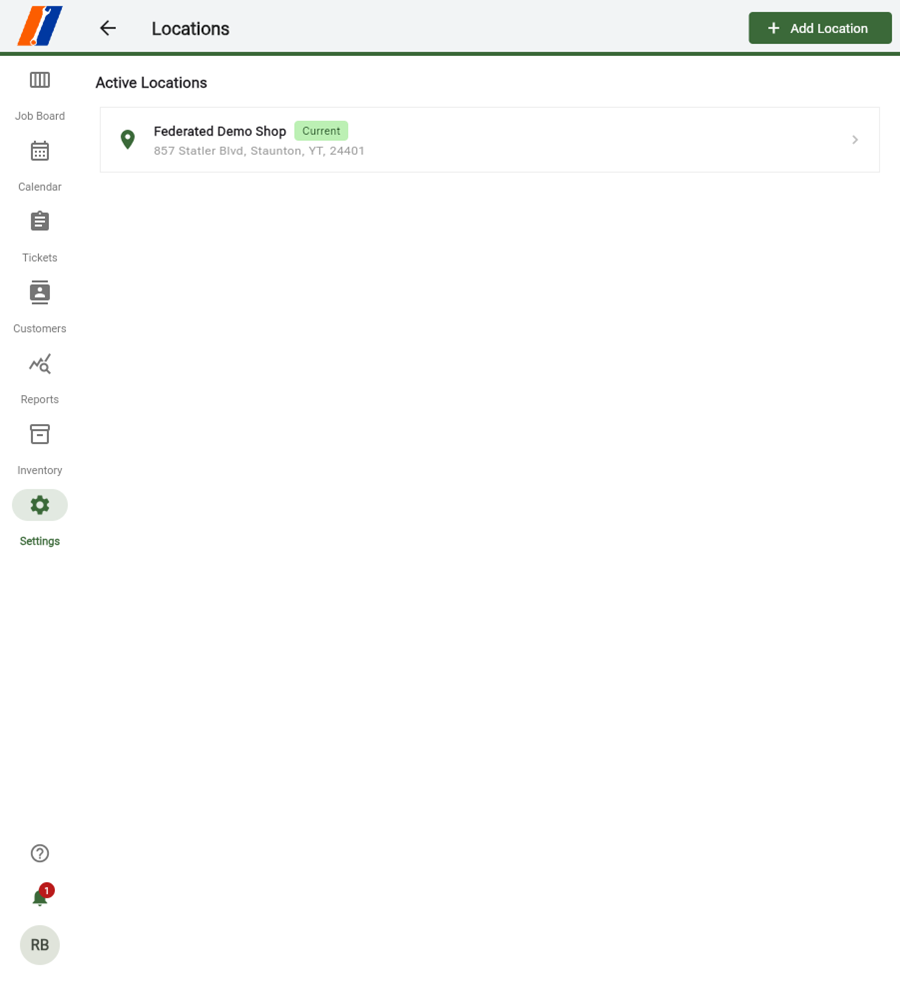
3. Select the location you want to configure from the Active Locations list to open Edit Location.
If you manage a single shop, you'll usually see just one entry here, marked Current. Clicking Add Location starts a new one.
Location Information and Address
The top of the Edit Location screen covers the basics: what the location is called, how customers reach it, and where it is.
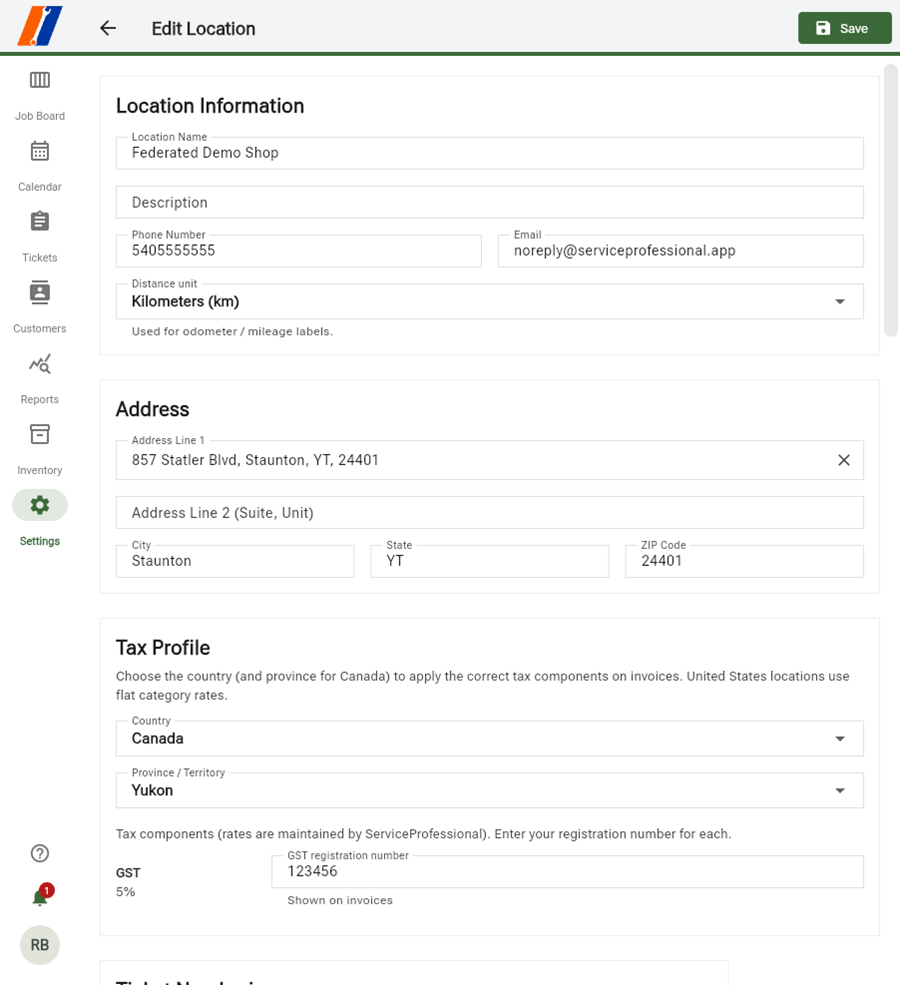
Field | What it does |
Location Name | Displays on tickets, invoices, and the Locations list. |
Description | Optional internal note about the location; customers don't see this. |
Phone Number | The number shown to customers on invoices and communications. |
The email address used for outgoing communications from this location. | |
Distance unit | Miles or kilometers — controls how odometer/mileage fields are labeled throughout the app. |
Address Line 1 / Line 2 | The shop's street address; Line 2 is for suite or unit numbers. |
City, State, ZIP Code | Used for the printed address and to help determine applicable tax rates. |
Tip: Double-check Phone Number and Email after setup — these are what customers use to reach the shop, and they print directly on invoices.
Tax Profile
Tax Profile determines which tax components apply to invoices generated at this location.
Field | What it does |
Country | Sets which tax system applies. United States locations use flat category rates; Canadian locations use province-specific components (GST, PST, HST, etc., depending on province). |
Province / Territory | Only shown for Canada — determines which tax components are active and their rates. |
Registration number (per component) | Your business's registration number for that tax (e.g., GST registration number). This prints on invoices; the rate itself is maintained by ServiceProfessional and isn't editable here. |
Note: If your location is in the United States, you won't see a Province/Territory field or per-component registration numbers — U.S. locations use flat category tax rates instead.
Ticket Numbering and State Inspection
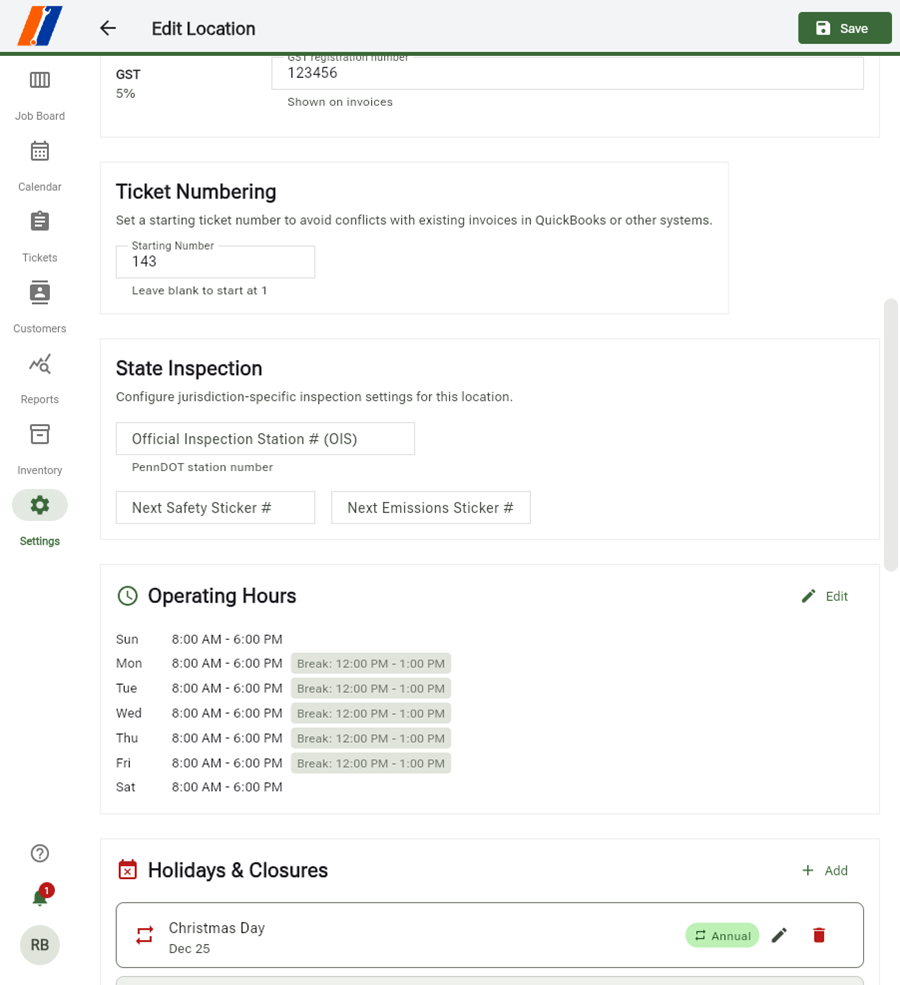
Ticket Numbering sets the starting number for new repair tickets at this location.
Field | What it does |
Starting Number | The first ticket number ServiceProfessional will assign. Use this when migrating from QuickBooks or another system, so new tickets don't collide with existing invoice numbers. Leave blank to start at 1. |
State Inspection holds jurisdiction-specific inspection settings, and only needs to be filled in if your shop performs state safety or emissions inspections.
Field | What it does |
Official Inspection Station # (OIS) | Your station's official inspection number (labeled "PennDOT station number" in jurisdictions that use that terminology). |
Next Safety Sticker # | The next safety inspection sticker number to be issued. |
Next Emissions Sticker # | The next emissions sticker number to be issued. |
Tip: If your shop doesn't perform state inspections, you can leave the State Inspection fields blank — they won't affect any other part of the app.
Operating Hours and Holidays & Closures
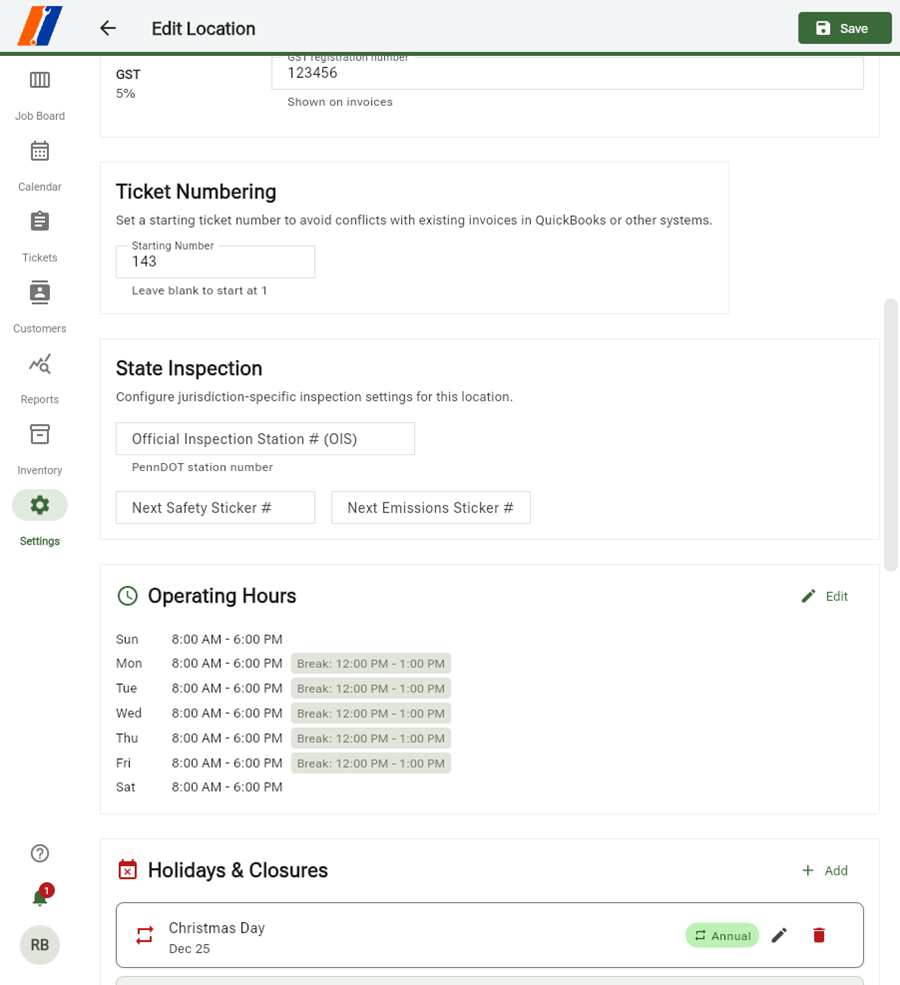
Operating Hours controls the hours shown to customers and used for scheduling. Click Edit to set open and close times for each day of the week, plus an optional lunch or break window (shown as, for example, Break: 12:00 PM – 1:00 PM). Days without hours set are treated as closed.
Holidays & Closures lets you block out dates the shop is closed, either for a single day or on a recurring basis.
1. Click + Add next to Holidays & Closures.
2. Enter a name (e.g., "Christmas Day") and a date.
3. Choose whether the closure repeats every year (Annual) or is a one-time closure.
Recurring closures are tagged Annual; one-time closures show only the date. Use the pencil icon to edit a closure, or the trash icon to remove it.
Tip: Add known one-time closures (staff training days, inventory counts) as soon as you schedule them, so they don't get booked over on the Calendar.
Payment Processing
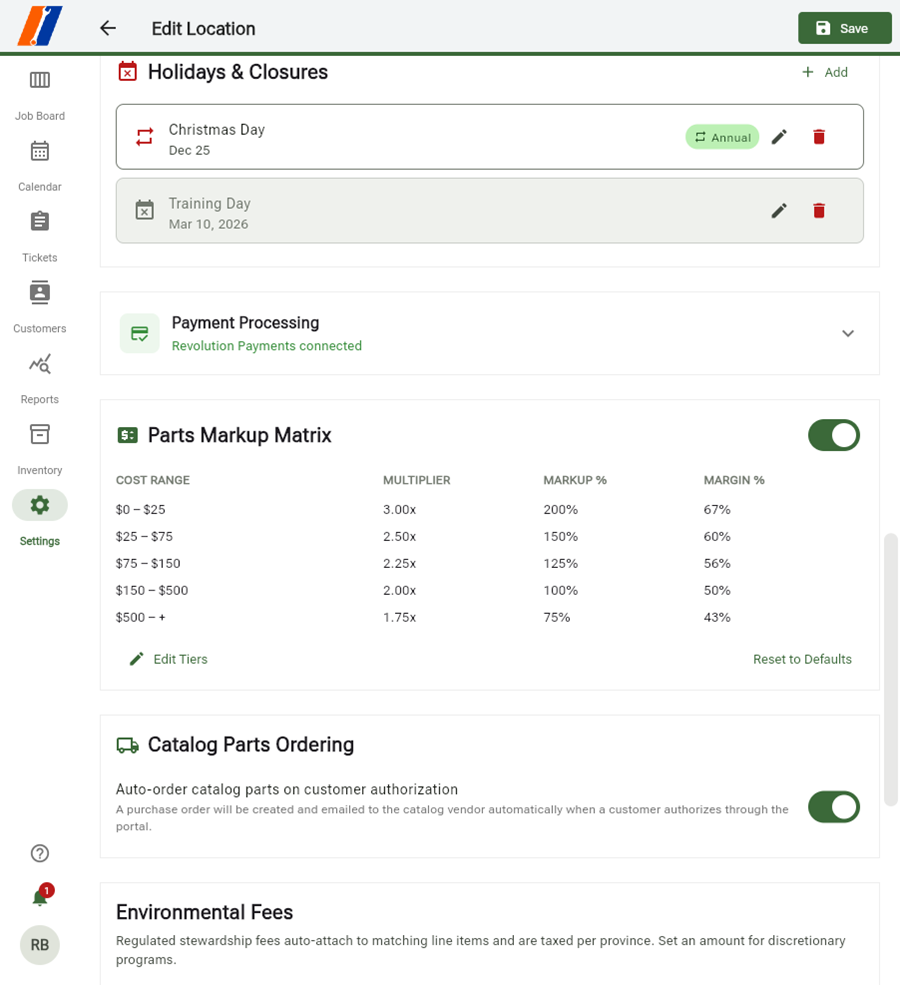
This section shows whether the location has a payment processor connected for taking card payments, and which one. When a processor is connected, the section shows a green check and the processor's name (for example, Revolution Payments connected). Expand the section for connection details and settings specific to that processor.
If no processor is connected, customers at this location can't pay by card through ServiceProfessional directly, and payments would need to be recorded and reconciled manually.
Parts Markup Matrix and Catalog Parts Ordering
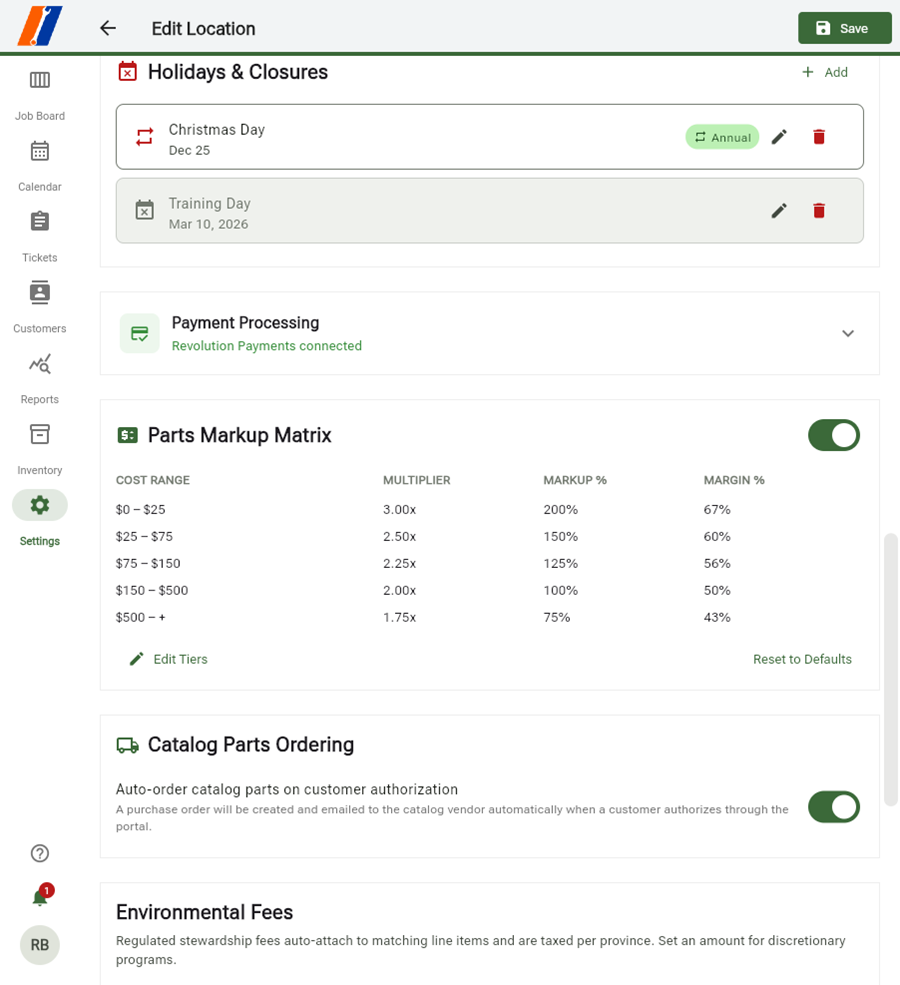
Parts Markup Matrix sets how parts are marked up based on their cost, using a tiered structure — the higher a part's cost, the lower its markup percentage.
Cost Range | Multiplier | Markup % | Margin % |
$0 – $25 | 3.00x | 200% | 67% |
$25 – $75 | 2.50x | 150% | 60% |
$75 – $150 | 2.25x | 125% | 56% |
$150 – $500 | 2.00x | 100% | 50% |
$500+ | 1.75x | 75% | 43% |
Use the toggle in the top-right of the section to turn automatic markup on or off for this location. Click Edit Tiers to change the cost ranges or multipliers, or Reset to Defaults to restore ServiceProfessional's standard tiers.
Catalog Parts Ordering controls what happens when a customer approves a repair through the customer portal that includes a catalog part.
Field | What it does |
Auto-order catalog parts on customer authorization | When on, a purchase order is created and emailed automatically to the vendor as soon as the customer approves the work through the portal. When off, catalog parts must be ordered manually. |
Tip: If you're still finalizing vendor relationships, leave auto-ordering off until you've confirmed purchase orders are routing to the right vendor emails.
Environmental Fees and Shop Fees
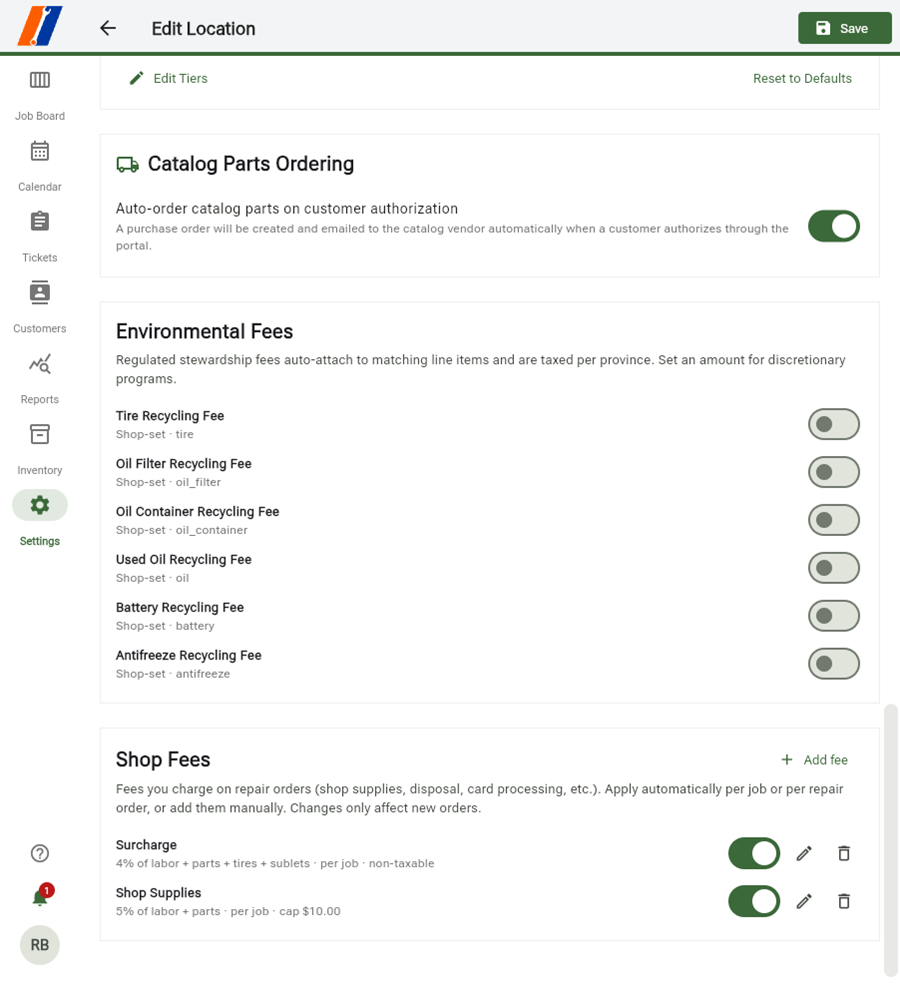
Environmental Fees are regulated stewardship fees that auto-attach to matching line items and are taxed per province or state. Each fee corresponds to a specific part type:
Fee | Applies to |
Tire Recycling Fee | tire |
Oil Filter Recycling Fee | oil_filter |
Oil Container Recycling Fee | oil_container |
Used Oil Recycling Fee | oil |
Battery Recycling Fee | battery |
Antifreeze Recycling Fee | antifreeze |
Each fee is labeled Shop-set, meaning you set the discretionary amount charged. Toggle a fee on to start charging it automatically whenever a matching part is added to a ticket.
Shop Fees are fees you charge on repair orders to cover shop supplies, card processing, disposal, and similar overhead. Unlike Environmental Fees, these can be calculated as a percentage of the ticket.
Fee (example) | Basis | Applies | Notes |
Surcharge | 4% of labor + parts + tires + sublets | Per job | Non-taxable |
Shop Supplies | 5% of labor + parts | Per job | Capped at $10.00 |
Click + Add fee to create a new one, the pencil icon to edit an existing fee's rate or cap, or the trash icon to remove it. Fee changes only affect new repair orders — tickets already in progress keep the fee structure that applied when they were created.
Tip: A cap (like the $10.00 cap on Shop Supplies above) prevents a percentage-based fee from growing unreasonably large on bigger tickets — worth setting on any fee based on parts or labor totals.
FAQ
Do I need to fill in every section? No. Sections like State Inspection, Environmental Fees, and the Parts Markup Matrix only apply if they're relevant to your shop — leave them blank or toggled off if they don't apply.
Does changing Tax Profile affect past invoices? No. Tax Profile changes apply to invoices created after the change; existing invoices keep the tax rates that were in effect when they were issued.
Can I have different Shop Fees at different locations? Yes. Every setting on this page — including Shop Fees, the Parts Markup Matrix, and Operating Hours — is configured per location, so each shop can have its own fee structure, hours, and tax profile.
What happens if I don't set a Starting Number for Ticket Numbering? ServiceProfessional starts numbering new tickets at 1.
Related articles: Accepting Payments, Managing Inventory